
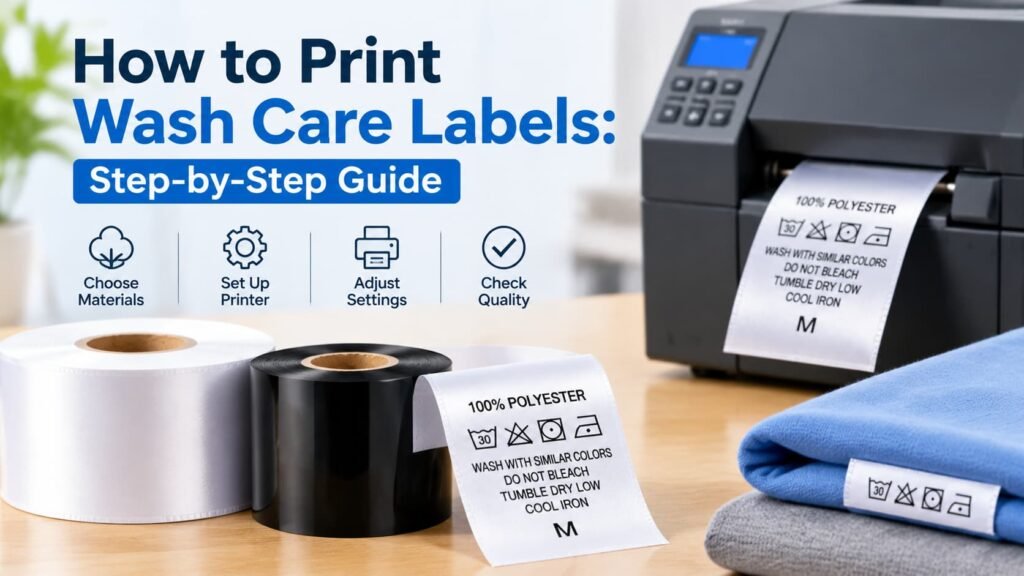
How to Print Wash Care Labels: Step-by-Step Guide
Wash care labels play an important role in the garment industry. They provide essential information about fabric composition, washing instructions, drying methods, ironing requirements, and other garment care details.
For garment manufacturers and label printing companies, producing clear and durable wash care labels requires the right materials, printing equipment, and thermal transfer ribbons.
If you are new to wash care label production or want to improve your existing printing process, this guide explains the essential wash care label printing steps, from material preparation to finished label inspection.
Step 1: Choose the Right Wash Care Label Material
The first step is selecting a suitable label material based on the garment type, printing requirements, and intended application.
Common materials include:
Nylon Taffeta Labels
Nylon taffeta is widely used for garment care labels because it offers a practical balance of flexibility, printability, and cost. It is suitable for many clothing applications.
Polyester Satin Labels
Polyester satin labels have a smooth surface and soft appearance. They are commonly used for premium garments, fashion brands, and applications where label appearance and touch are important.
Cotton Label Materials
Cotton labels provide a natural fabric appearance and are often used for garments and textile products that require a softer, fabric-based label.
Before production, confirm that the selected material is compatible with your thermal transfer printer and ribbon.
Explore our Printable Nylon Label Material range to learn more about materials for garment care label printing.
Step 2: Prepare the Wash Care Label Design
After selecting the material, prepare the label content and artwork.
A typical wash care label may include:
- Fabric composition, such as 100% Cotton or 65% Polyester / 35% Cotton
- Washing temperature and washing instructions
- Bleaching restrictions
- Drying instructions
- Ironing temperature
- Professional care symbols, where applicable
- Brand information, size, or other required details
Make sure the text and care symbols are easy to read. Avoid using font sizes that are too small, especially when the finished label has limited printing space.
You should also check the relevant labeling regulations for your target market to ensure that the information and symbols meet applicable requirements.
Step 3: Select a Compatible Thermal Transfer Ribbon
Thermal transfer printing uses heat from the printer’s printhead to transfer ink from a ribbon onto the label surface.
Choosing a compatible ribbon is essential for achieving clear text and consistent printing results.
Common ribbon options include:
Wash Care Resin Ribbon
Wash care resin ribbons are designed for suitable garment care label printing applications. Their performance should be evaluated according to the label material, washing requirements, and actual test results.
Learn more about our Wash Care Resin Ribbon range.
Textile Resin Ribbon
Textile resin ribbons can be considered for compatible satin and fabric label materials. They are useful when selecting a ribbon for textile label printing applications.
Explore our Textile Resin Ribbon options for satin and fabric labels.
Nylon Label Resin Ribbon
For nylon taffeta and other compatible nylon label materials, a suitable nylon label resin ribbon can help achieve clear printing when the ribbon and material are properly matched.
See our Nylon Label Resin Ribbon selection for more information.
Always check ribbon specifications, printer compatibility, and the required durability before purchasing.
Step 4: Set Up the Thermal Transfer Printer
Once the label material and ribbon are ready, install them in the thermal transfer printer.
Follow these basic steps:
- Check that the printer is clean and in good working condition.
- Install the label material according to the printer manufacturer’s instructions.
- Load the thermal transfer ribbon in the correct direction.
- Confirm the ribbon width, core size, and ink-side orientation.
- Adjust the label sensor and printing position.
- Check the printer driver and software settings.
Different printer models may have different installation procedures. Always follow the equipment manufacturer’s instructions.
Step 5: Adjust Printing Parameters
Correct printer settings help improve print clarity and reduce common production problems.
The main parameters include:
Print Darkness
Print darkness controls the amount of heat applied by the printhead. If the setting is too low, text may appear faint. If it is too high, it may cause excessive heat, poor image definition, or other printing issues.
Printing Speed
Printing speed affects the time available for ink transfer. A suitable speed should be selected according to the ribbon, label material, and printer specifications.
Print Position
Check the label dimensions and printing alignment before starting production. Incorrect positioning may cause text or care symbols to appear outside the intended printing area.
It is best to begin with the recommended settings and make small adjustments after evaluating sample prints.
Step 6: Print a Sample and Check the Results
Before starting bulk production, print several sample labels.
Check the following:
- Are the washing instructions and fabric composition readable?
- Are the care symbols complete and correctly positioned?
- Is the printing consistent across the label?
- Is the ink properly transferred to the material?
- Does the printed label meet the required durability standards?
If the label will be exposed to repeated washing, ironing, or friction, conduct appropriate performance tests under the intended conditions.
Do not assume that every resin ribbon provides the same level of wash or heat resistance. Actual performance depends on the ribbon formulation, label material, printer settings, and application.
Step 7: Start Production and Inspect Finished Labels
After the sample has passed inspection, proceed with regular production.
During printing, monitor the following:
- Label feeding and alignment
- Ribbon tension and feeding
- Printhead condition
- Printing clarity and consistency
- Label dimensions and cutting accuracy
After printing, inspect the finished labels and remove defective pieces before packing.
Consistent quality control helps reduce material waste and maintain reliable production standards.
Common Problems During Wash Care Label Printing
1. Faint Printing
Possible causes include low print darkness, unsuitable printing speed, or poor compatibility between the ribbon and label material.
Check the printer settings and test a compatible ribbon.
2. Smudged or Unclear Text
Smudging may result from an unsuitable ribbon, incorrect settings, surface contamination, or poor material compatibility.
Test the ribbon and label combination before bulk production.
3. Missing or Incomplete Care Symbols
Check the original artwork, printhead condition, printing resolution, and label positioning.
Make sure the design is suitable for the actual label dimensions.
4. Printing Fades After Washing
If printed information fades after washing, review the ribbon specification, label material, and printing parameters.
Conduct washing tests that reflect the actual end-use requirements before approving the production combination.
Frequently Asked Questions
What equipment is needed to print wash care labels?
A typical setup includes a compatible thermal transfer printer, suitable wash care label material, thermal transfer ribbons, and label design software. Additional cutting or rewinding equipment may be required depending on the production process.
Which material is commonly used for wash care labels?
Nylon taffeta and polyester satin are common choices. The right material depends on garment requirements, label appearance, printing compatibility, and production needs.
Which ribbon is suitable for wash care label printing?
The choice depends on the label surface and required durability. Wash care resin ribbon, textile resin ribbon, and nylon label resin ribbon can be considered for different applications. Sample testing is recommended.
Can I print washing instructions and care symbols together?
Yes. Thermal transfer printing can produce text, numbers, and care symbols together, provided the artwork, printer resolution, label surface, and ribbon are suitable.
How can I improve wash care label printing quality?
Use compatible label materials and ribbons, maintain the printer, adjust printing parameters correctly, and inspect sample labels before bulk production.
Need Materials for Wash Care Label Printing?
Choosing the right combination of label material and thermal transfer ribbon is an important part of producing consistent wash care labels.
At FurZaa, we focus on garment care label printing materials and thermal transfer ribbon solutions for different label applications.
Whether you are looking for nylon label materials, satin label materials, or suitable printing ribbons, our team can help you review your requirements.
Contact us to discuss your wash care label printing materials and sourcing needs.